Instagram content batching is the strategy busy marketers and small business owners rely on to stay consistent on social media without burning out. Instead of waking up every day wondering "what do I post today?", you sit down once, create everything you need for the month, and schedule it all in advance.If keeping up with Instagram feels like a second full-time job, this guide will change how you work. Below, we'll cover what content batching actually means, why it works so well for small teams, how to prepare before your batching day, a full step-by-step workflow you can copy, common mistakes to avoid, and the tools that make the whole process faster.
What Is Instagram Content Batching?
Instagram content batching means grouping similar tasks together and completing them in one dedicated work session, instead of creating one post at a time, every single day.
Think of it like an assembly line. Instead of writing a caption, shooting a photo, editing it, and posting it — then repeating that entire cycle again tomorrow — you break the process into stages and complete each stage for all your posts before moving to the next one:
- Write all your captions and scripts in one sitting
- Shoot all your photos and videos back-to-back
- Edit everything together in one editing session
- Schedule the entire month in one final step
This approach removes the constant mental switching between “creative mode” and “logistics mode,” which is one of the biggest reasons content creation feels exhausting.
Why Batching Your Instagram Content Actually Works
Small businesses and solo marketers love content batching because it solves real, everyday problems. Here's why it's worth the upfront effort.
It Protects Your Mental Energy
Every time you decide what to post, you're spending energy — even if it doesn't feel like it. Batching lets you make all your content decisions once, instead of starting from zero every morning. By the time your posts go live, you've already moved on to other work.
It Helps You Post Consistently
Instagram's algorithm rewards accounts that publish regularly. When life gets busy — and it always does — your content calendar keeps running in the background because everything is already scheduled.
It Keeps Your Feed Visually Cohesive
When you plan multiple posts side-by-side instead of one at a time, it's much easier to balance colors, formats, and visual style so your feed looks intentional rather than random.
It Gives Every Post a Clear Purpose
Batching forces you to plan a goal, message, and call-to-action for each post before you create it, instead of figuring that out after the fact.
It Frees Up Time for Higher-Impact Work
Once your content is created and scheduled, you can spend your time on the things that actually grow your account: replying to comments, engaging with your community, analyzing performance, and testing new ideas.
How to Prepare Before Your Batching Day
A productive batching session doesn't start with a camera — it starts with planning. If you sit down with no ideas ready, you'll spend most of your time deciding what to make instead of actually making it.
Step 1: Choose 3–5 Content Pillars
Content pillars are the core themes your brand can consistently create content around. They keep your ideas focused instead of random. For example, a retail brand might use:
- Education — tips, how-tos, and guides related to your product
- Behind-the-scenes — what happens inside your business
- Customer proof — reviews, testimonials, and user-generated content
- Product promotion — direct showcases of what you sell
Step 2: Match Each Idea to the Right Format
Not every idea works best as the same type of post. Match your concept to the format that shows it off best:
- Reels work well for storytelling, personality, and quick how-tos
- Carousels are great for tutorials, list-based tips, or step-by-step breakdowns
- Stories are perfect for casual updates, polls, and behind-the-scenes moments
- Single image posts work well for strong product shots or quotes
Step 3: Set a Realistic Posting Cadence
You don’t need 30 feed posts a month to see results. A sustainable schedule for a small team might look like:
- 3–4 feed posts per week
- A bank of pre-designed Stories to fill in gaps
- A few open slots left for spontaneous or trending content
Trying to post every single day from scratch is what leads to burnout in the first place — a realistic cadence is what makes batching sustainable long-term.
The Complete Step-by-Step Workflow to Batch a Month of Instagram Posts in One Day
Here’s a full, time-blocked workflow you can copy and adjust to fit your own schedule.
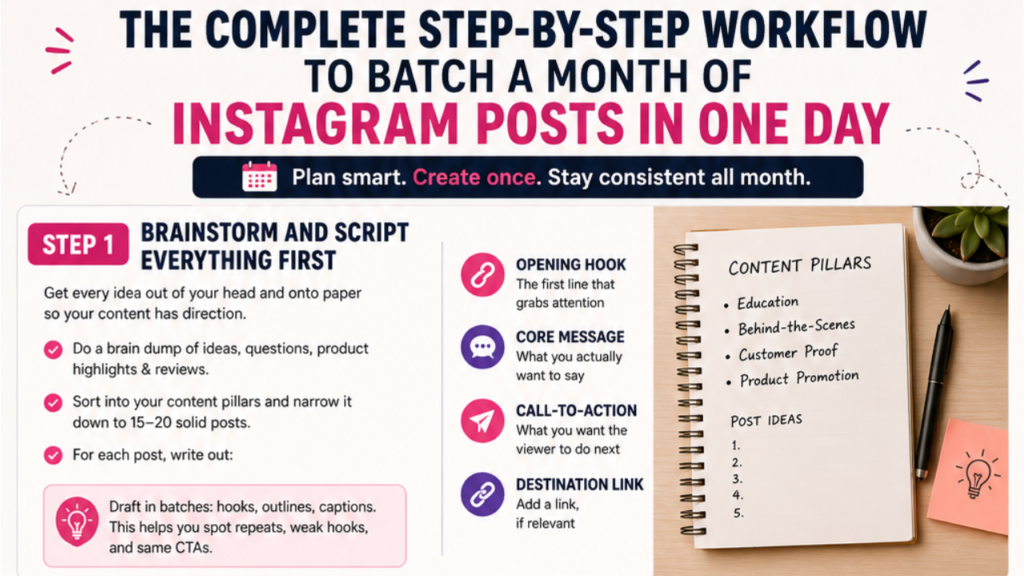
Step 1: Brainstorm and Script Everything First
Before you touch a camera or design tool, get every idea out of your head and onto paper (or a doc). This step gives your content direction so you’re not just filling a calendar for the sake of it.
Start with a pure brain dump: write down every idea, question a customer has asked, product you want to highlight, or review worth sharing. Then sort everything into your content pillars and narrow it down to around 15–20 solid posts.
For each post, write out:
- The opening hook — the first line that grabs attention
- The core message — what you actually want to say
- The call-to-action — what you want the viewer to do next
- A destination link, if relevant
Draft everything in batches: write all your Reel hooks together, outline all your carousels together, and write all your captions together. Seeing everything side-by-side makes it easy to spot repeated ideas, weak hooks, or too many posts with the same call-to-action.
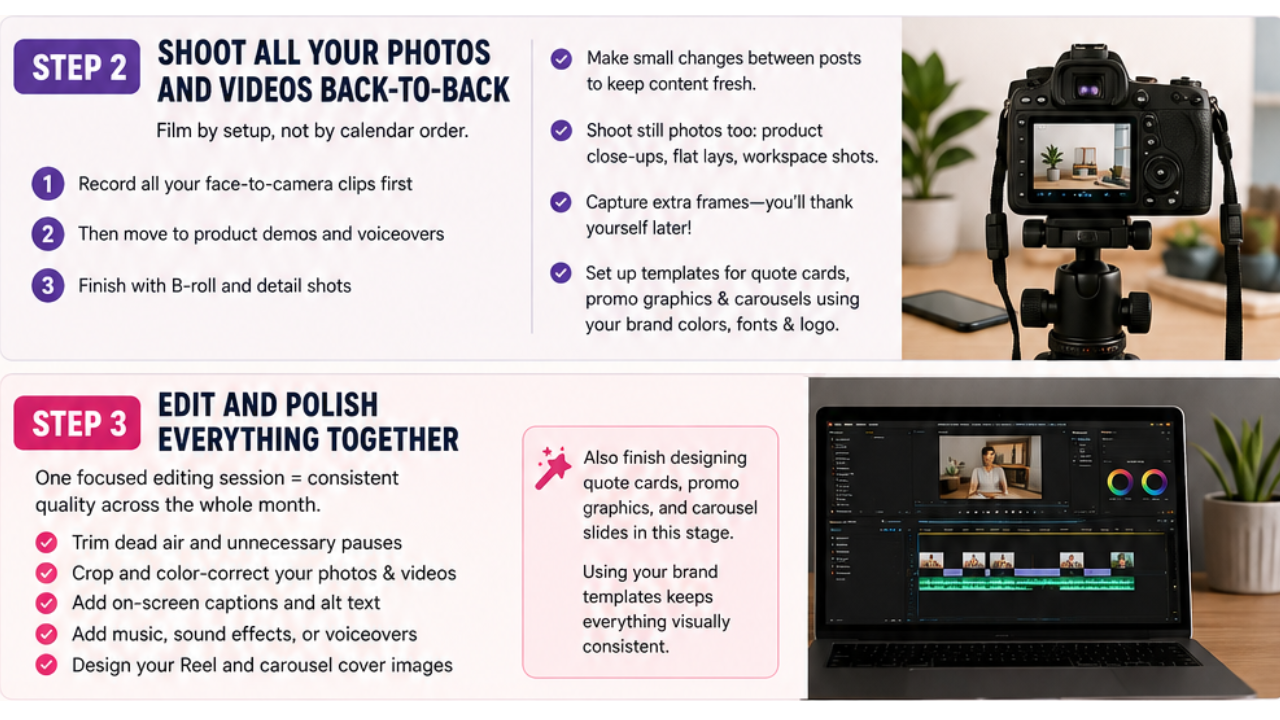
Step 2: Shoot All Your Photos and Videos Back-to-Back
Now move into production. Film by setup, not by calendar order, so you’re not constantly rearranging lights, backgrounds, and equipment.
A smart shooting order looks like this:
- Record all your face-to-camera clips first
- Then move to product demos and voiceovers
- Finish with B-roll and detail shots
Make small changes between posts — a different background, a new outfit, or a different angle — so your content doesn’t look like it was all filmed in the same hour (even though it was).
While your lighting is already set up, shoot your still photos too: product close-ups, flat lays, and workspace shots. It’s also worth capturing a few extra frames you don’t have an immediate plan for — they often come in handy later if a concept needs to change.
If you haven’t already, this is also a good time to set up templates for quote cards, promo graphics, and carousels using your brand colors, fonts, and logo. Having these ready in advance will save you a significant amount of time in the editing stage.
Step 3: Edit and Polish Everything Together
With your raw footage and photos ready, move into one focused editing session:
- Trim dead air and unnecessary pauses
- Crop and color-correct your photos and videos
- Add on-screen captions and alt text for accessibility
- Add music, sound effects, or voiceovers where needed
- Design your Reel and carousel cover images
This is also the stage where you finish designing any quote cards, promo graphics, or carousel slides. Doing this in one sitting — using your saved brand templates — keeps everything visually consistent across the whole month.
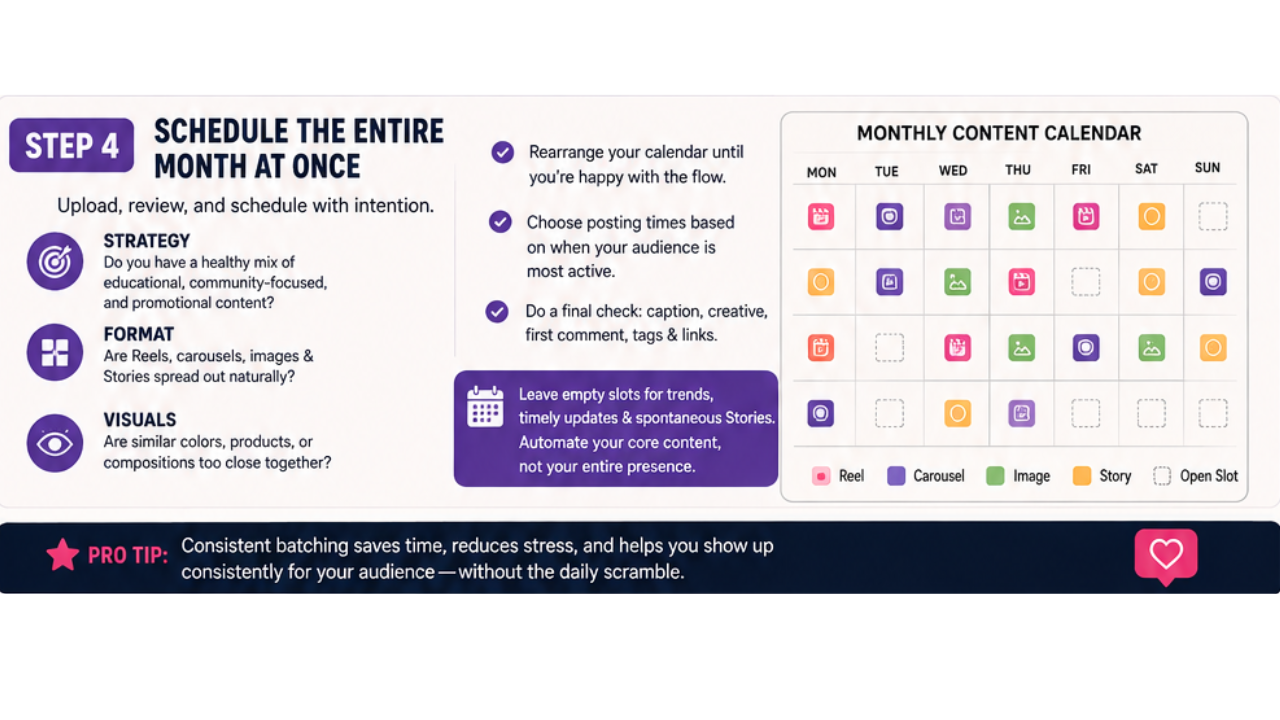
Step 4: Schedule the Entire Month at Once
Upload your finished posts to your content calendar, then step back and review the month as a whole. Look at it from three angles:
- Strategy: Do you have a healthy mix of educational, community-focused, and promotional content?
- Format: Are your Reels, carousels, images, and Stories spread out naturally, instead of clustered together?
- Visuals: Are any similar colors, products, or compositions accidentally placed too close together?
If something feels repetitive or unbalanced, rearrange your calendar until you’re happy with the flow of the month.
Next, choose your posting times based on when your audience is most active — many scheduling tools can recommend this automatically based on past engagement data.
Finally, do one last pass over every post: check the caption, creative, first comment, tags, and links before anything goes live.
Important: Don’t fill every single slot in your calendar. Leave room for trends, timely updates, and spontaneous Stories. The goal is to automate your core content, not your entire presence.
Common Mistakes to Avoid When Batching Instagram Content
Batching is a powerful workflow, but it’s easy to get wrong if you rush it. Watch out for these common pitfalls:
- Skipping the planning stage. Jumping straight into filming without a script or plan leads to wasted time and weak content.
- Filming in calendar order instead of by setup. This wastes hours moving lights, backgrounds, and props unnecessarily.
- Batching too far in advance. Planning three months ahead can make your content feel outdated or disconnected from current trends.
- Filling every single calendar slot. Leaving no room for spontaneity makes your account feel robotic.
- Forgetting to review the whole month together. Without a final review, it’s easy to accidentally cluster similar colors, products, or formats too close together.
- Not leaving buffer time. Always build in a little extra time for unexpected issues — a corrupted file, a re-shoot, or a last-minute idea.
Tools That Make Instagram Content Batching Easier
A good social media scheduling tool can turn content batching from a stressful, all-day task into a smooth, repeatable process. When choosing a tool, look for features like:
- A visual content calendar with month, week, and list views
- AI-recommended posting times based on your audience’s real engagement patterns
- Built-in image editing and automatic alt-text generation for accessibility
- Direct integration with design tools like Canva, so you can import graphics without downloading and re-uploading
- Performance reporting, so you can see what worked and use that data to plan your next batching session
Using one platform for planning, publishing, and reporting cuts down on the constant back-and-forth between different apps and tabs — which is often the most exhausting part of managing social media.
FAQs About Instagram Content Batching
How often should I batch my Instagram content? Most small businesses batch once a month, though some prefer batching every two weeks if their offers or trends change frequently.
Do I need special tools to batch content? No, but a scheduling tool with a visual calendar makes the process significantly faster and helps you avoid scheduling mistakes.
Can I still post spontaneously if my content is batched? Yes — and you should. It’s a good idea to leave a few open slots in your calendar for trending topics, timely news, or spontaneous updates.
How long does it take to batch a month of Instagram content? Most creators can complete a full month of content in a single 6–8 hour day once they have a clear workflow and pre-made templates ready to go.
Is content batching only useful for Instagram? No — the same batching workflow works well for TikTok, Facebook, LinkedIn, and other social platforms.
What’s the biggest mistake beginners make when batching content? Skipping the planning and scripting stage. Jumping straight into filming without a clear idea of what each post needs to say usually leads to weaker content and a lot of wasted time.